Want to make one of those pretty deco mesh wreaths that you see in the stores? I’ve got a Halloween Deco Mesh Wreath Tutorial to show you the step by step directions and photos how to make a Halloween wreath!
“This post/recipe originally appeared on my main blog BigBearsWife.com”
This Halloween Deco Mesh Wreath Tutorial has gotten so popular over the past few years!
Thank you to everyone that’s stopped by and loved the step by step photos! I hope this will help you make your very own Halloween Deco Mesh Wreath! – Angie
I’ve loved these Deco Mesh wreaths from the moment I first saw them in one of the local shops here, but I couldn’t bring myself to fork over the money for one.
The Deco Mesh wreaths around here go for somewhere between $80 – $400.
Holy Moly.
I just can’t do it. I can’t pay that much!
I would feel guilty and my husband would probably disown me haha But since I love to be crafty and could spend my entire paycheck in Hobby Lobby (could, not would lol) I figured that I could figure out this whole “Deco Mesh Wreath” process and make my own for a fraction of the price.
If I can get everything on sale, I can normally make one of these for somewhere between $20 and $35. Just depending on how much “stuff” I add to it.
Really, it’s the little “add ons” that jack the price up on these. However, I’ve been stocking up on stuff from the Dollar Tree for my wreaths! I hit the jackpot for Halloween stuff there!
Let’s move on though! I’m going to show you how I made my new Halloween Deco Mesh Wreath!
Which I’m totally IN LOVE with! haha. I’m also obsessed with making these now so I’m pretty sure that there will be more Deco Mesh Tutorials on here soon!
I have also broken this post down into two sections.
PART 1 – Will show you how to make a “Work Wreath” (Click HERE)
PART 2 – Will show you how I make the Deco Mesh Wreath (BELOW)
Halloween Deco Mesh Wreath Tutorial
For the Halloween Wreath
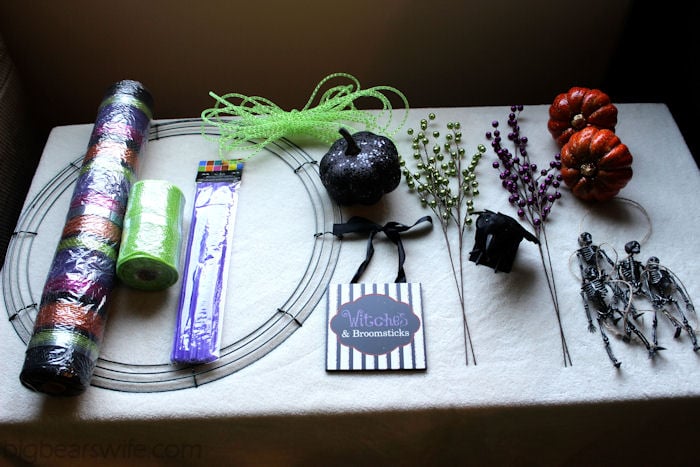
What I used:
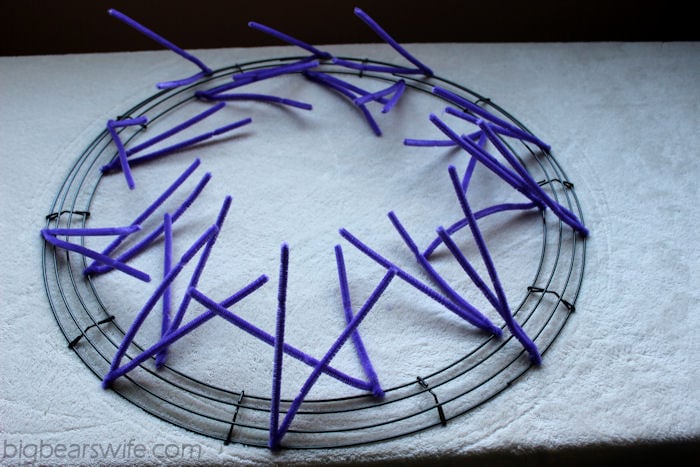
1 Work Wreath Form (22 or 24 inch), store bought or homemade (click here to learn how to make one)
20 – Pipe Cleaners (for the wreath from ^)
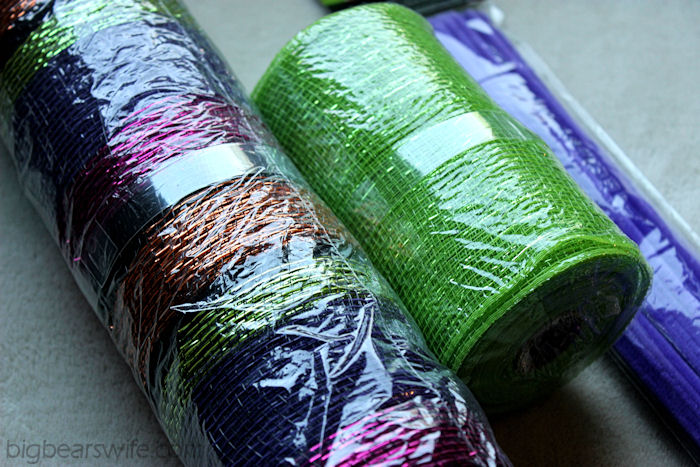
1 ( 21″ x 10 yards) Metallic Halloween Colored Deco Mesh Roll – From Hobby Lobby
1 (5 1/2″) Apple Green Metallic Deco Mesh Ribbon Roll – From Hobby Lobby
1 black glitter pumpkin (Jack O’ Lantern face on the other side) – Lights up – From Dollar Tree
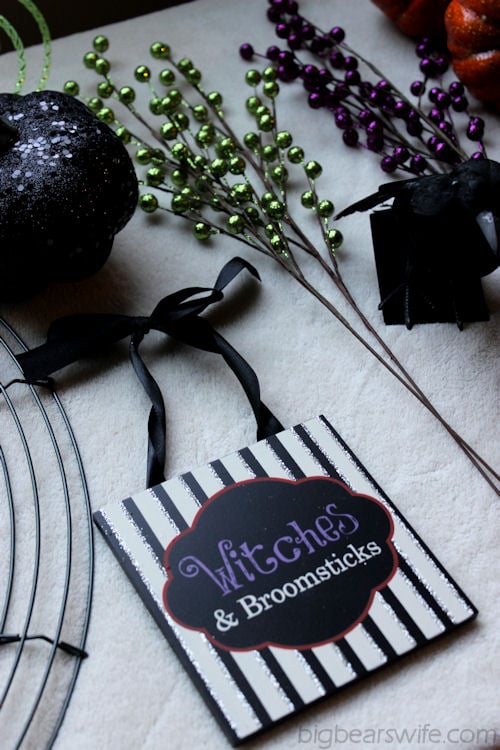
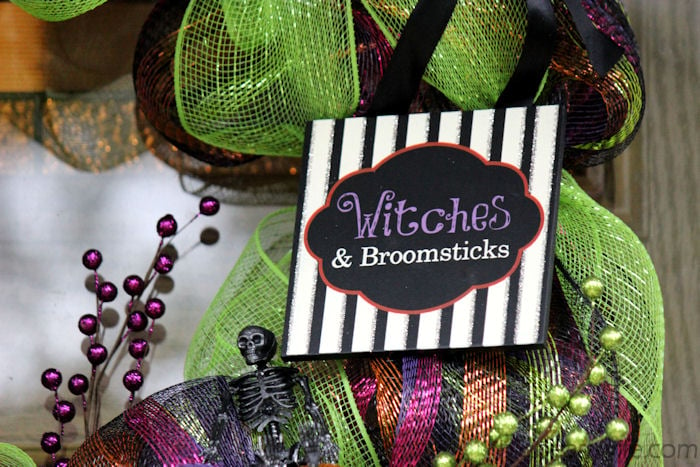
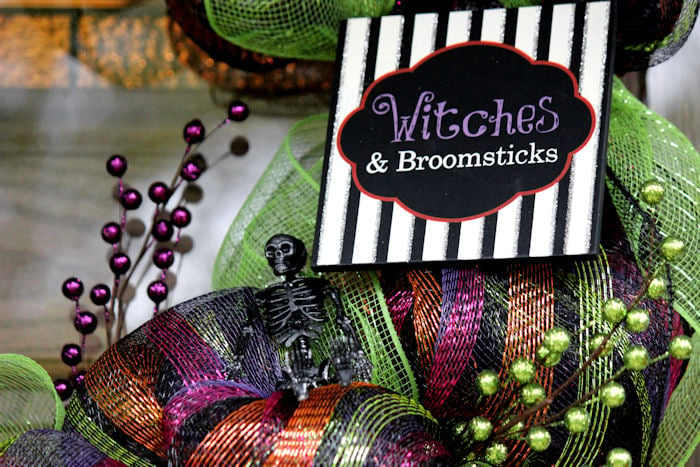
“Witches and Broomstick” sign – From a local Shop called The GingerBread House
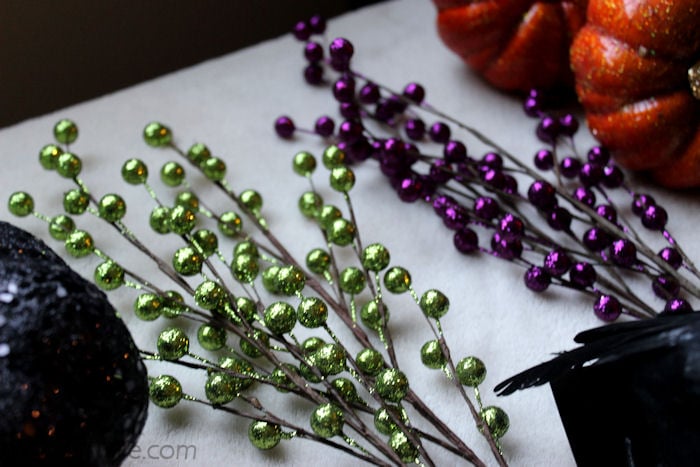
Green and Purple shimmery floral picks – from the Christmas Section of Hobby Lobby
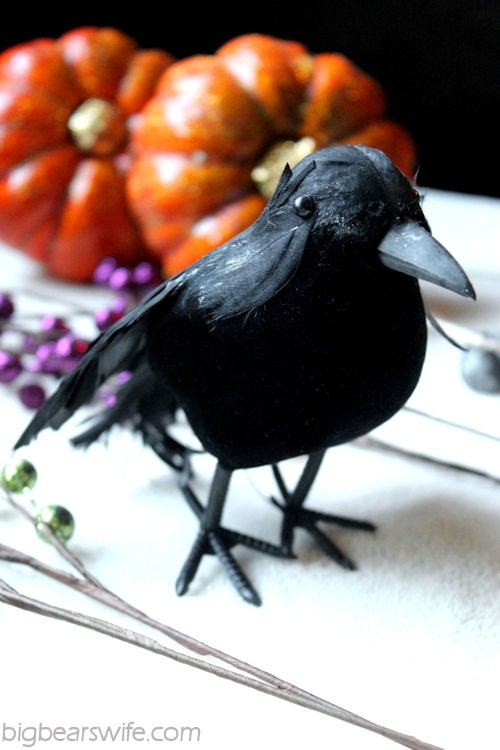
1 – Black Crow/Raven – From Dollar Tree
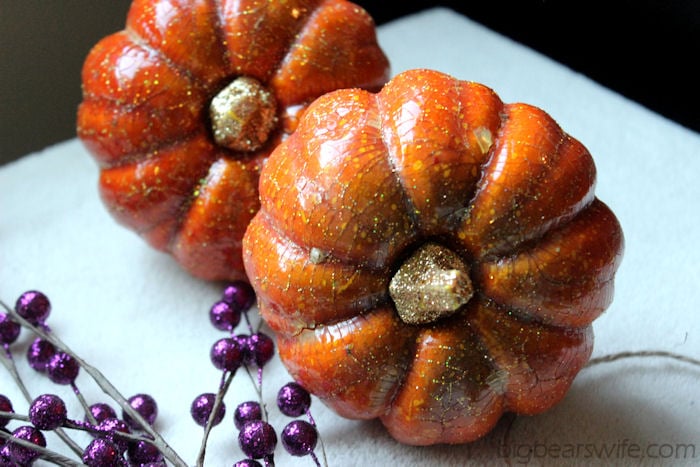
2- Glitter Pumpkin picks – Thanksgiving Day section of Hobby Lobby
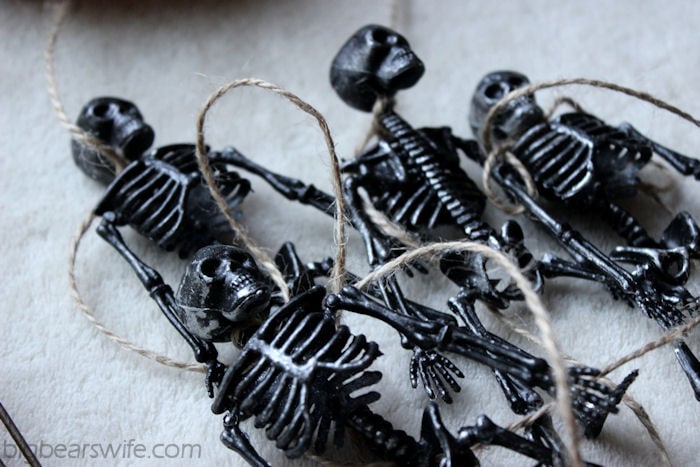
1 set of Mini Plastic Skeletons – From Dollar Tree
(Green tube ribbon – optional, I thought I would use it but didn’t – it comes from the floral section of Hobby Lobby)
**You’ll also need a glue gun**
First, you’ll need to make a Work Wreath Form (unless you’ve bought one pre-made). I have a tutorial on making that here.
Done! Ok, now it’s time to start making the wreath!
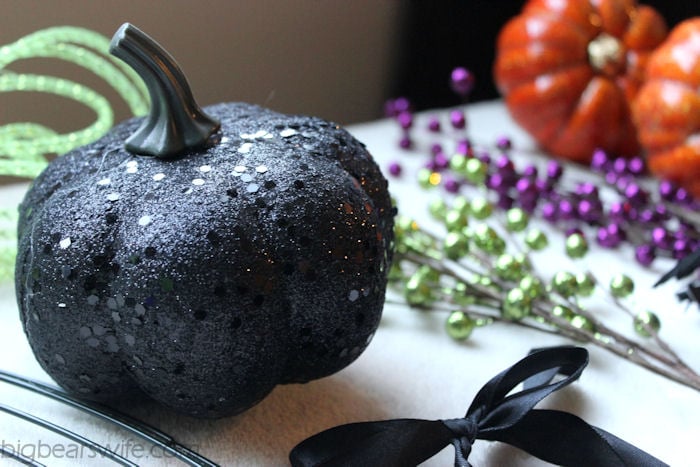
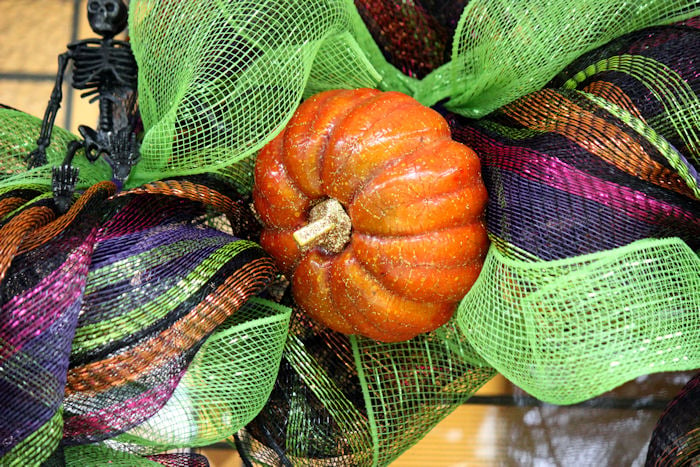
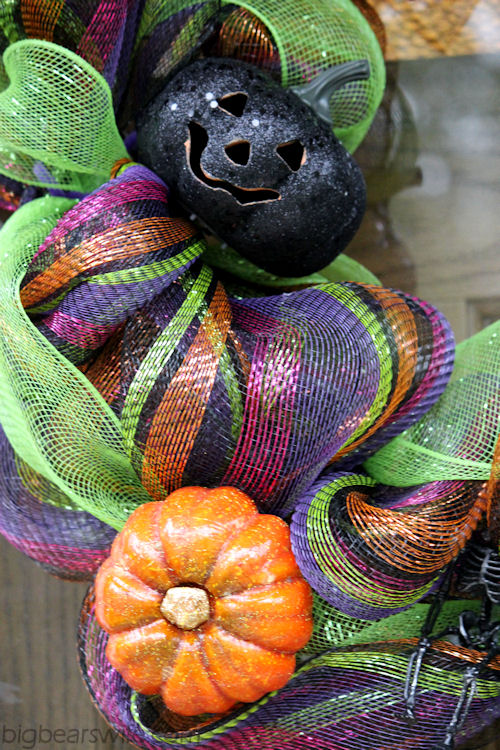
Lay out all of your “add-ons”. Here are a few that I picked out for my wreath. I love this black glitter pumpkin!
I got it from the Dollar Tree and was originally going to use it as just a black pumpkin because I didn’t like the face that was carved onto the other side. (That’s why it’s facing this way in the photos).
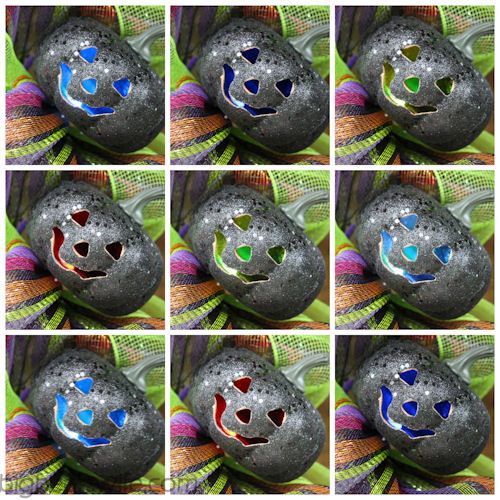
But it turns out that the pumpkin light inside actually changes colors and looks really neat so I decided to turn it around on the finished wreath.
These green and purple shimmery floral picks match perfectly with my Deco mesh ribbon! I found them over in the Christmas section of Hobby Lobby! I love to look over there for picks even if I’m not making a “Christmas” wreath because there is so much to choose from. I’ve gotten things for the Halloween wreath and a Fall wreath from the Christmas section!
This little Raven/Crow came from the Dollar Tree. I had originally seen one like this at a local shop (that sells these Deco Mesh Wreaths) for $10. I really, really wanted him for my wreath but couldn’t pay $10 for a fake bird. BUT then, I found this little guy at the Dollar Store. SOLD! 🙂
These glitter pumpkins were hiding in the Thanksgiving day section of Hobby Lobby.
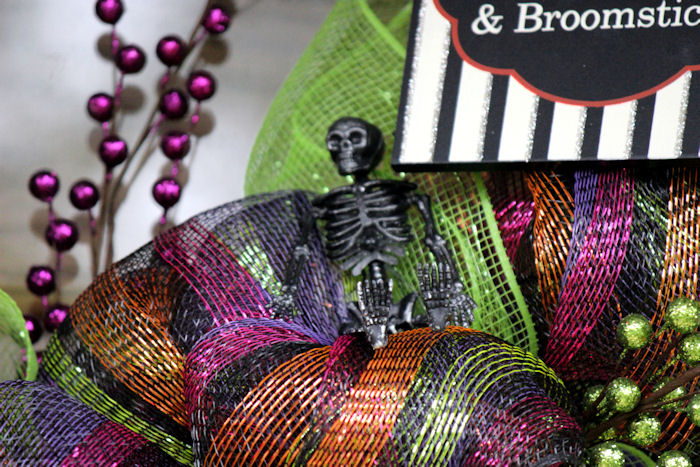
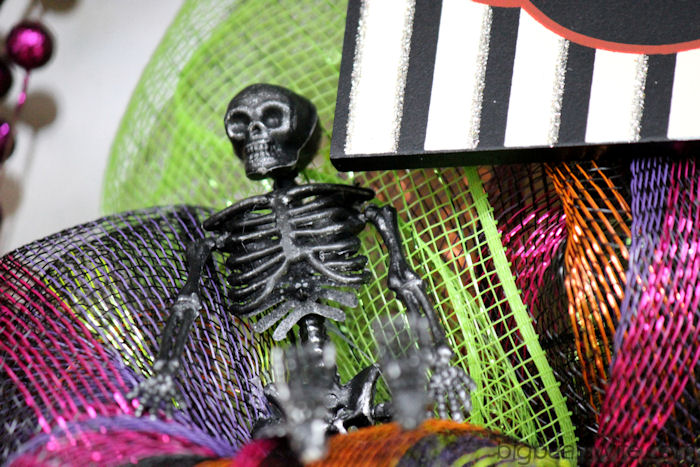
And these little Skeletons were in the Halloween section of the Dollar Tree. I think they’re suppose to be Halloween “garland” but I cut the rope off and just used them individuality on the wreath.
So let’s get started! I hope that I can explain this well! 🙂
Start with your work wreath on a flat surface.
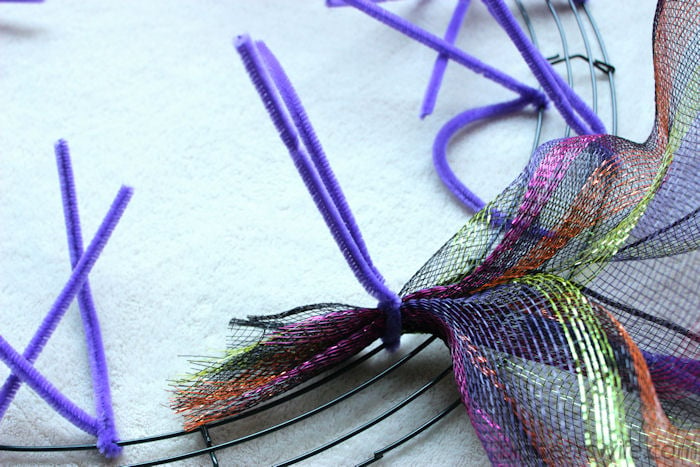
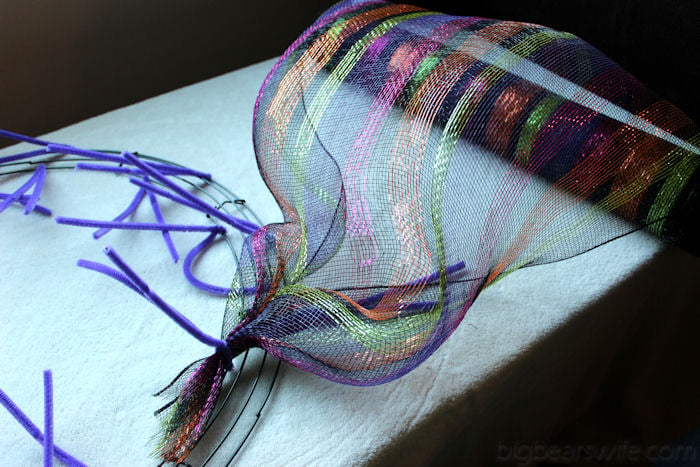
Un wrap the large tube of deco mesh and gather the end . Take the end of the deco mesh and place it into the center of one of the inside pipe cleaners.
Twist the pipe cleaner around the mesh to hold it in place.
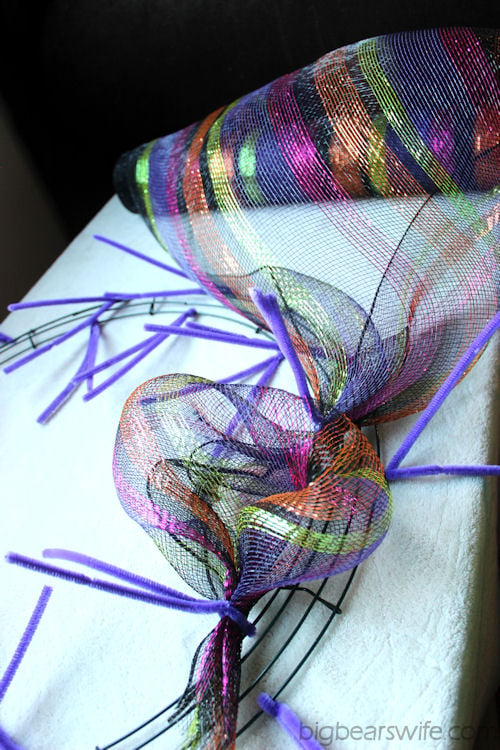
I place my deco mesh off to the side and just unroll as I go.
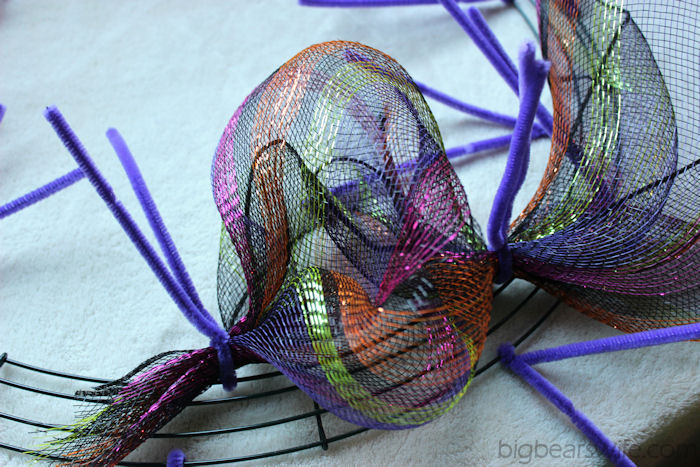
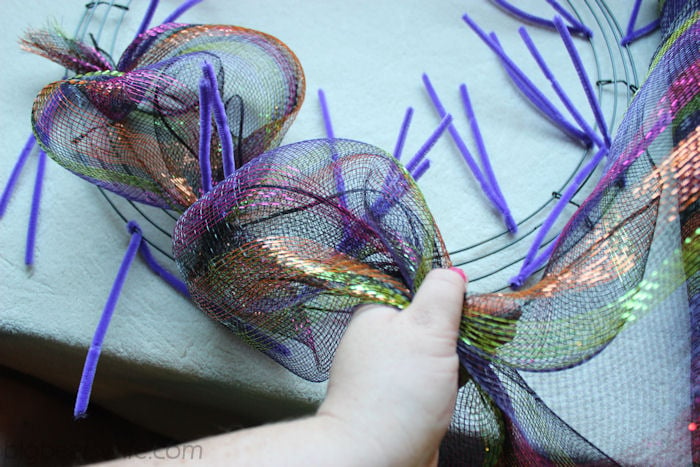
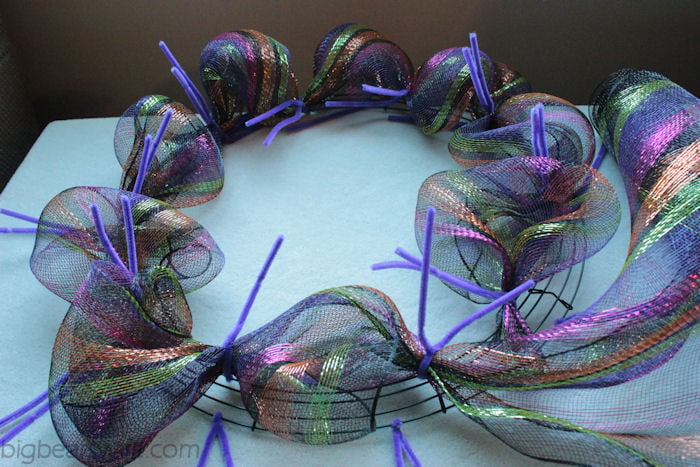
Move down the deco mesh a few inches and bunch it together again.
Secure onto the next section of the wire wreath with a pipe cleaner twist. (Work along the inner circle first)
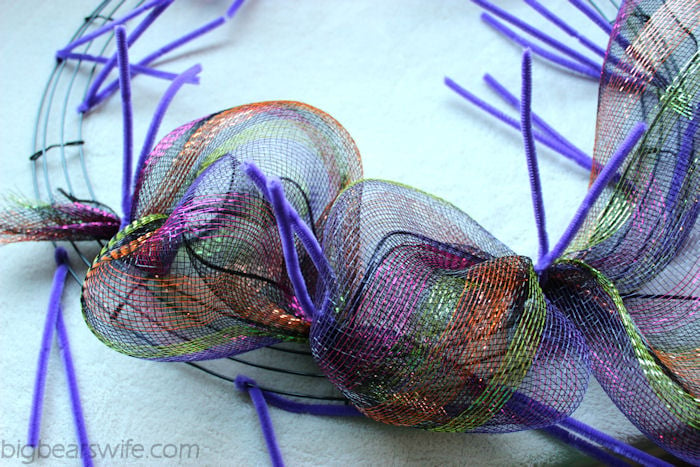
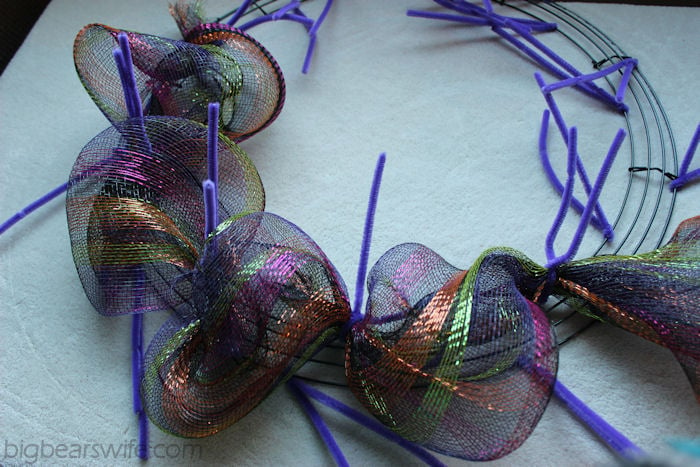
Continue this pattern.
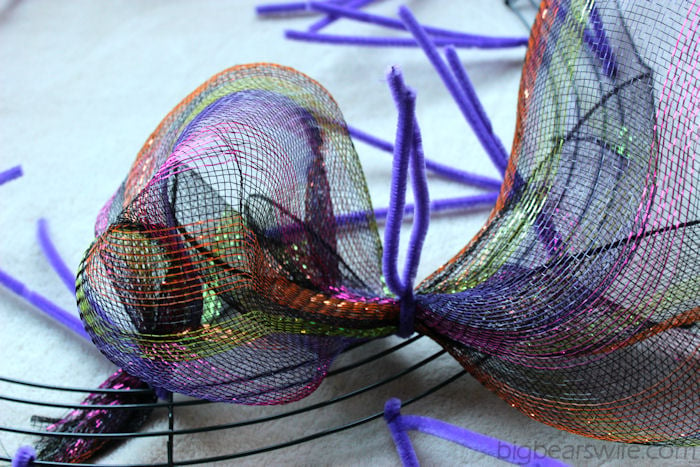
Gather the deco mesh.
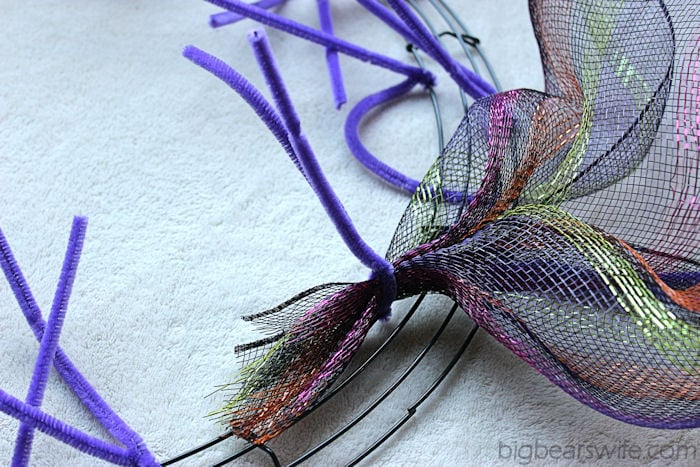
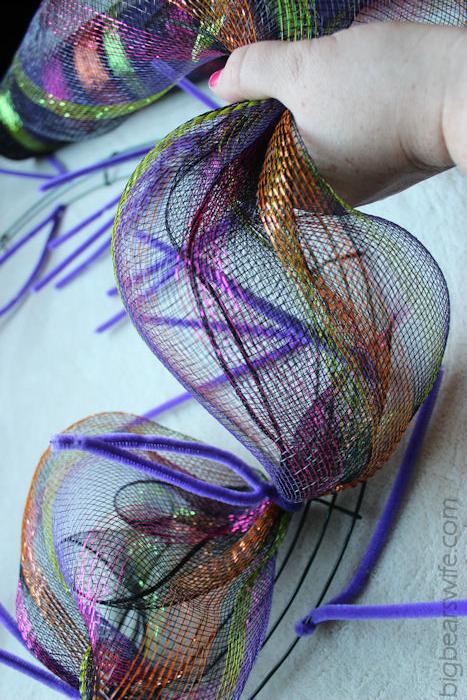
Bunch it together, go to the next pipe cleaner twist, place the deco mesh in between the pipe cleaners and twist them to hold the deco mesh in place.
I hope that the photos are giving you a good idea on how to do this.
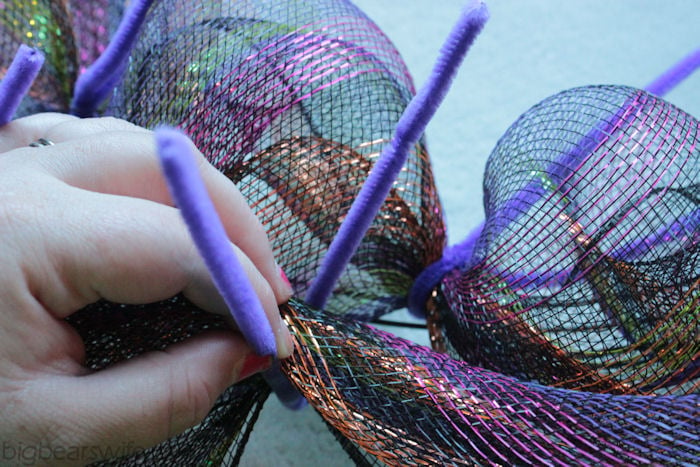
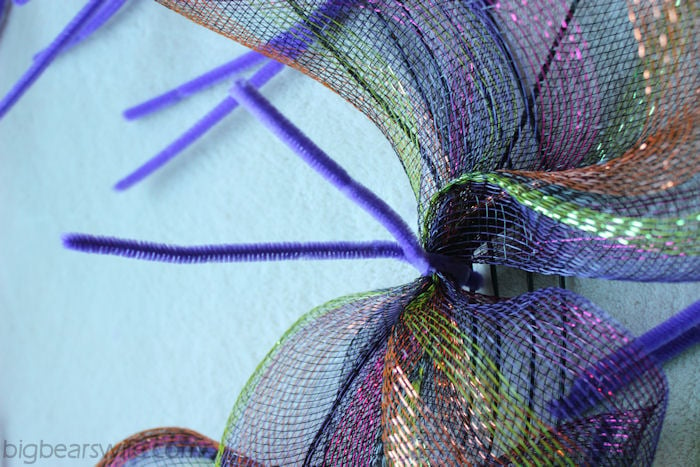
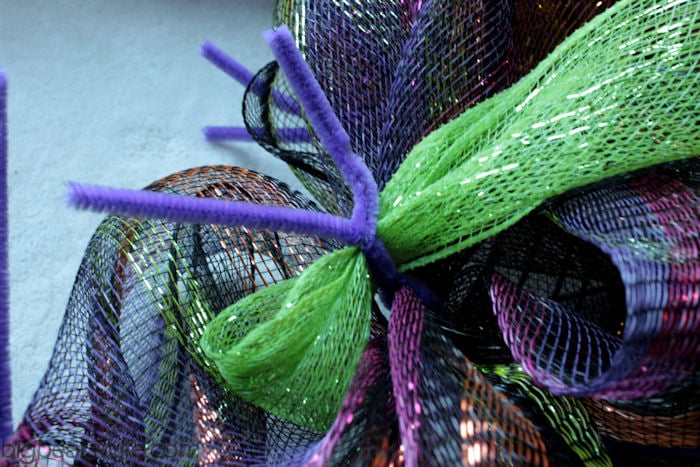
Up close! Place deco mesh “bunch” into the center of the pipecleaner.
Twist to secure.
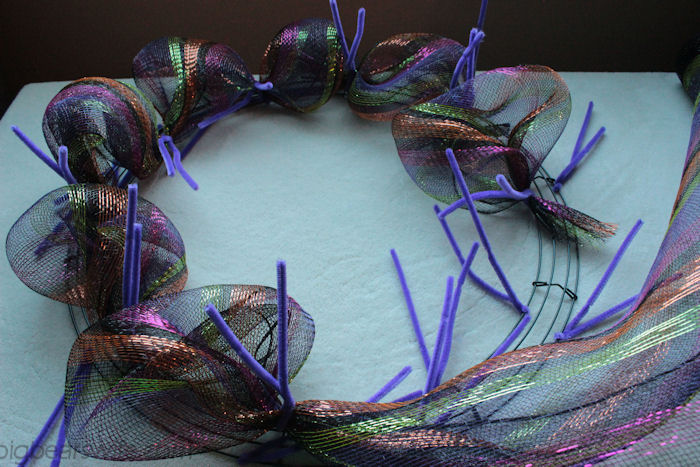
Continue around the wreath.
Working ONLY on the inner circle!
Once you’ve completed the entire inner circle and get back to the starting point, start with the pipe cleaners directly above the “starting point” pipe cleaner.
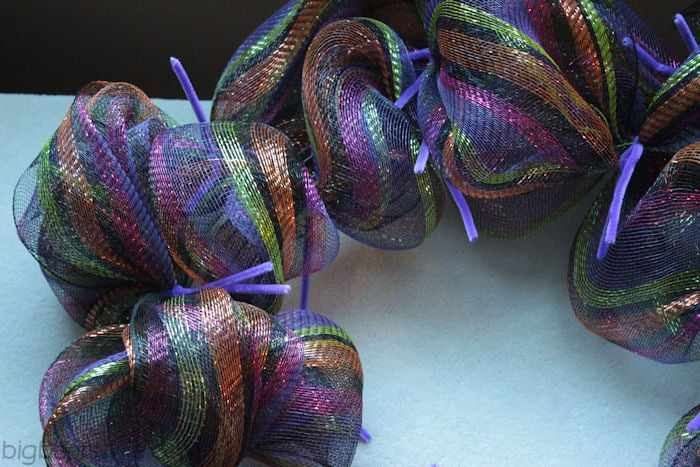
Now do the same process around the outer circle, making sure to bunch and twist deco mesh into each pipe cleaner. Fluffy the deco mesh as you go.
An entire roll of deco mesh will cover the inside and outside areas of the wreath. When you run out of Deco Mesh, twist the last bit into the last pipe cleaner.
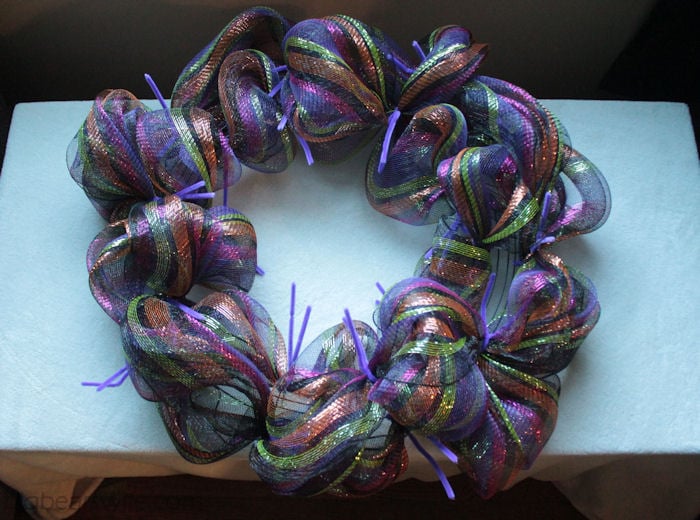
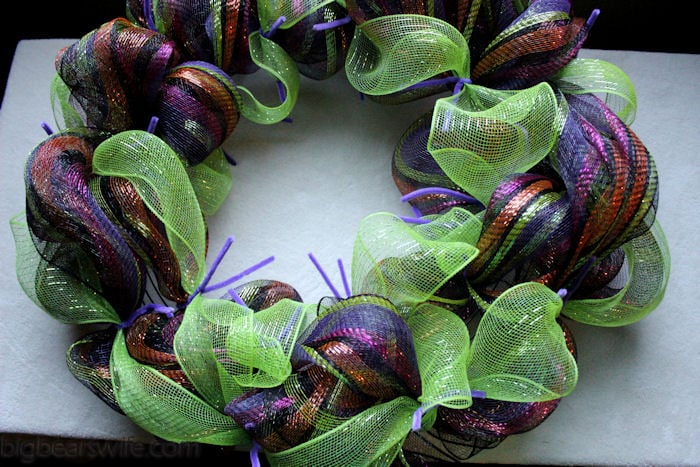
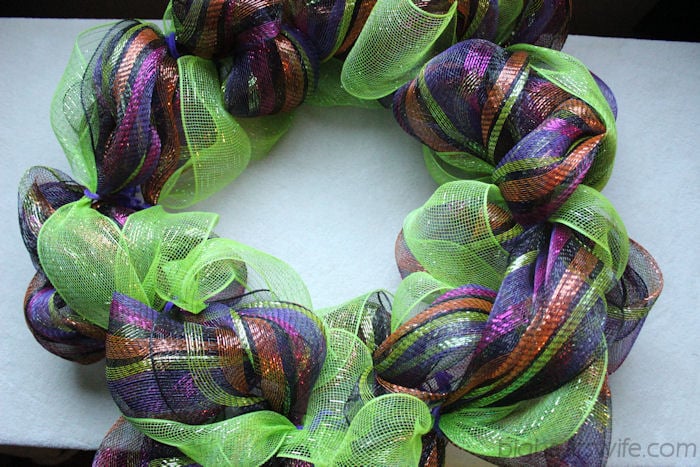
The base color is complete!
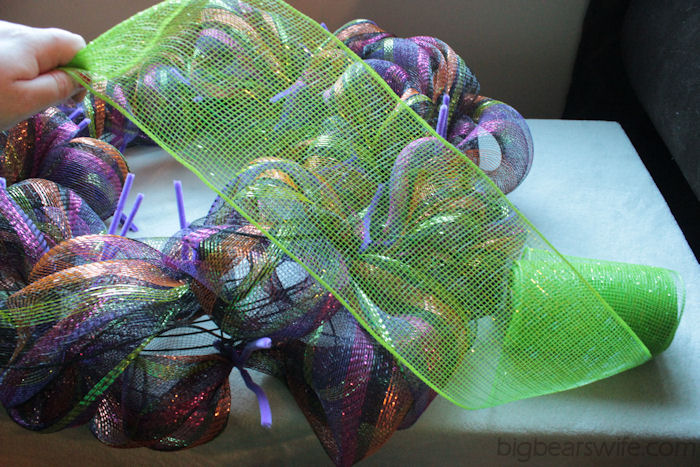
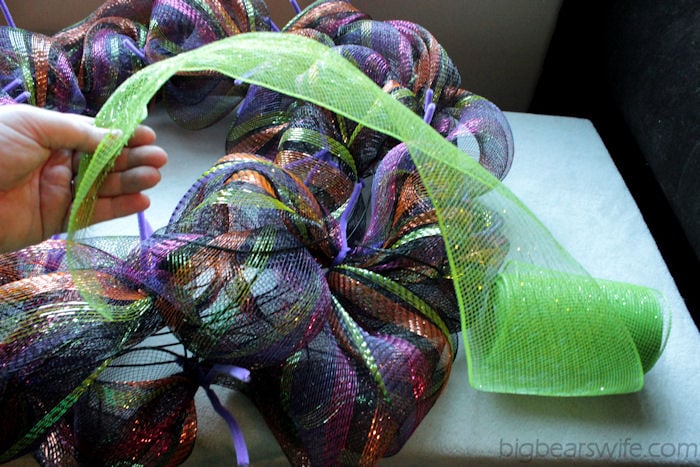
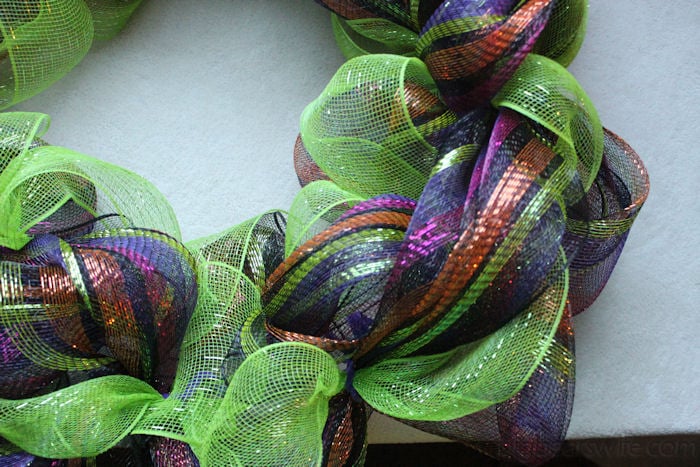
Next, take your second, small roll of deco mesh ribbon.
Starting on the inner circle, add the green deco mesh into one of the pipe cleaner. Twist to hold.
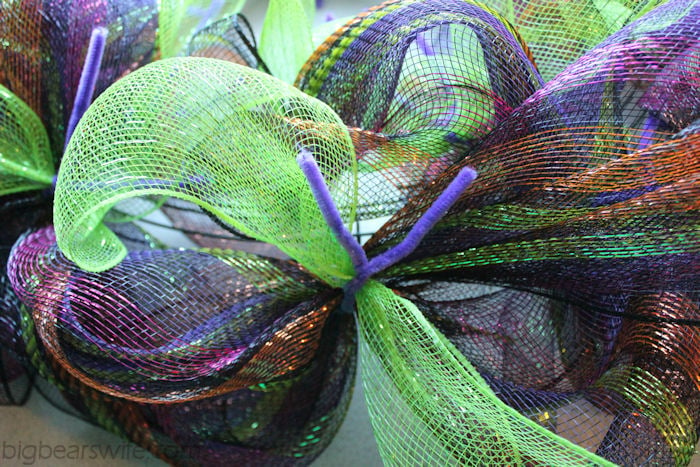
Just as your did with the base color, work around the wreath with the green.
Bunching some together, moving to the next pipe cleaner, placing the deco mesh and then twisting to secure it. Do this for the inner and outer circles just like the base color.
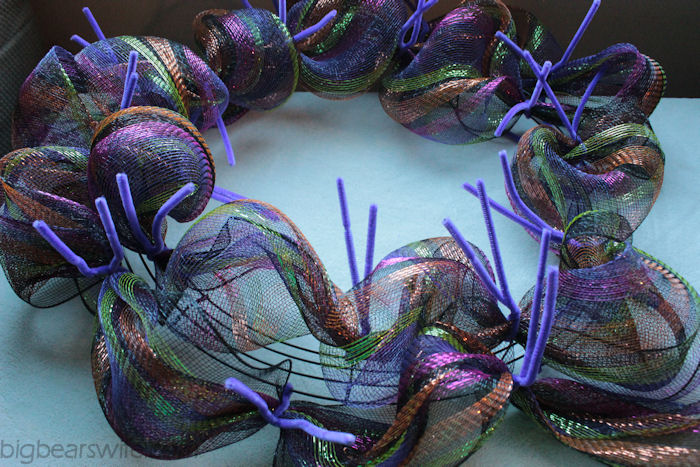
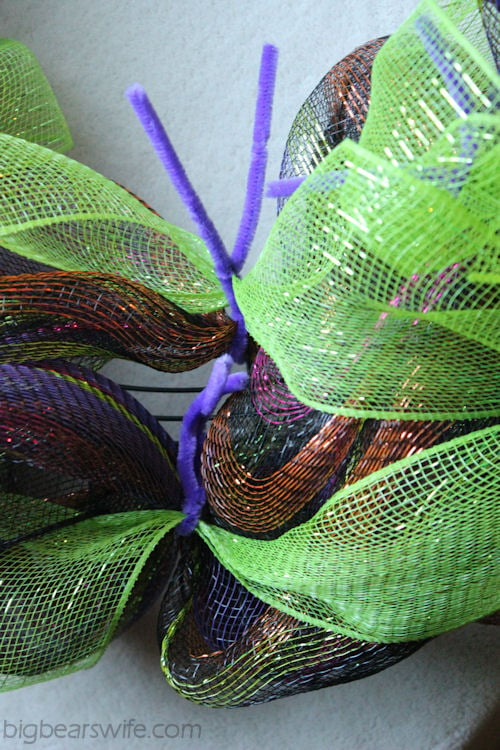
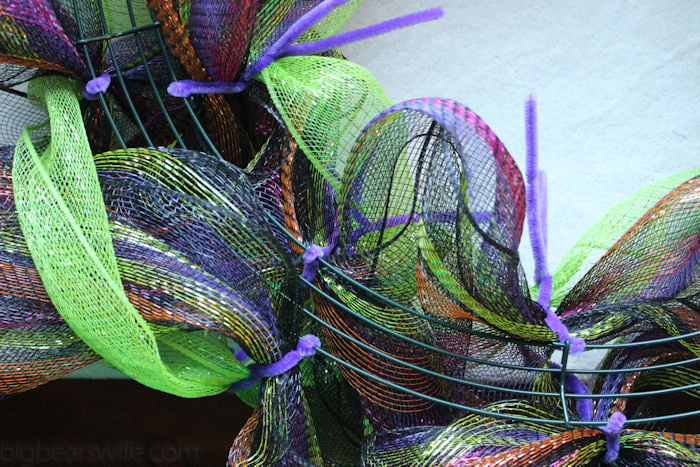
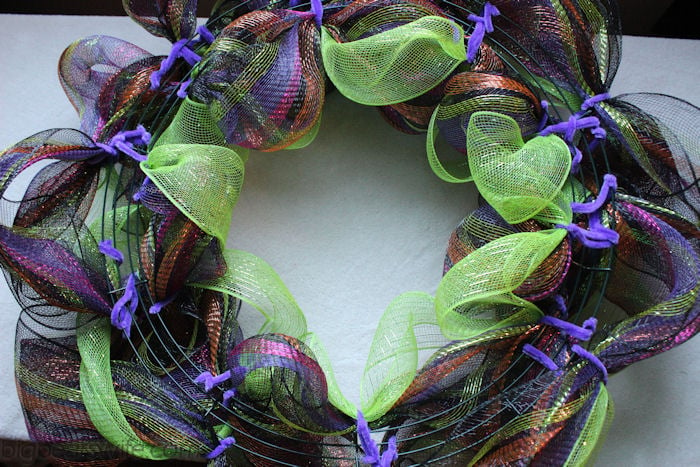
Now your wreath base is finished, but you’ll still have all of the crazy pipe cleaners sticking out everywhere!
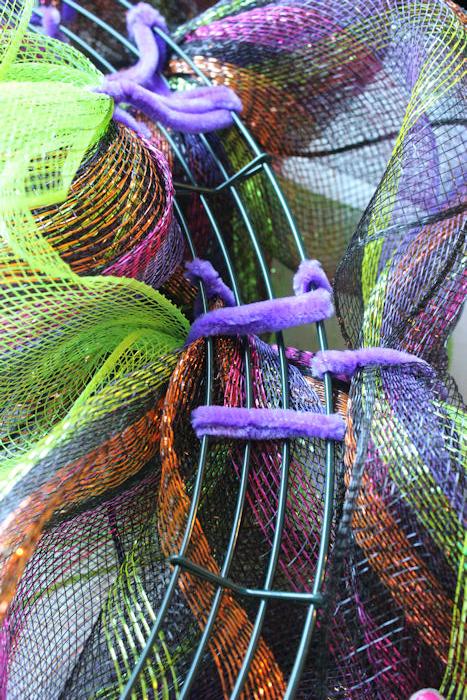
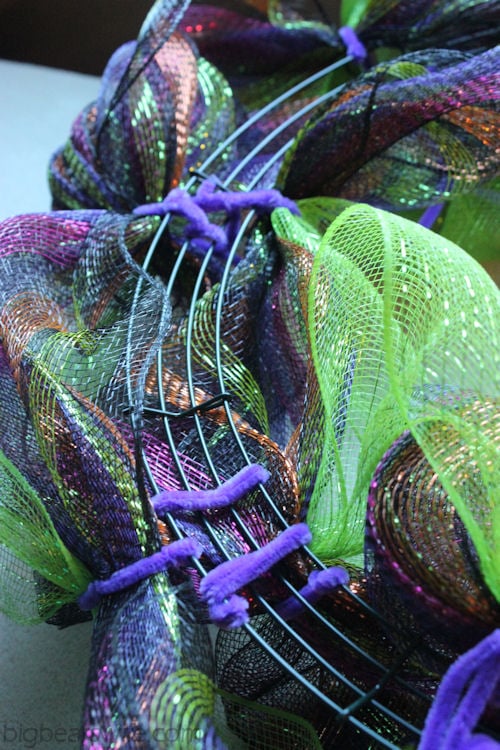
Flip the wreath over so that you can see the wire base.
Working your way around the wreath, pull the pipe cleaners around and to the back of the wreath.
Twist them onto the wire base.
This will create a clean look as well as help pull the deco mesh towards the center of the wreath!
Looks much better!
Now flip your wreath over and fluff the deco mesh!
You’re ready to add things onto the wreath!
I use a glue gun and hot glue smaller items onto my wreath. for larger/heavier items, I hot glue a pipe cleaner to the back of these items, push it onto the wreath and then secure it by twisting the pipe cleaner around the base through the deco mesh.
I normally hang my deco mesh wreath up for this part. I place all of the picks where I think they should go and gently set the other items into “pockets” in the wreath. I also use items to cover up some of the places where the pipe cleaners or wire wreath can still be seen.
Arrange everything BEFORE gluing them down haha. I normally have to arrange things and step back quite a few times before I’m happy with everything. Once I’m happy with the way it looks, I’ll go around the wreath and hot glue everything into place!
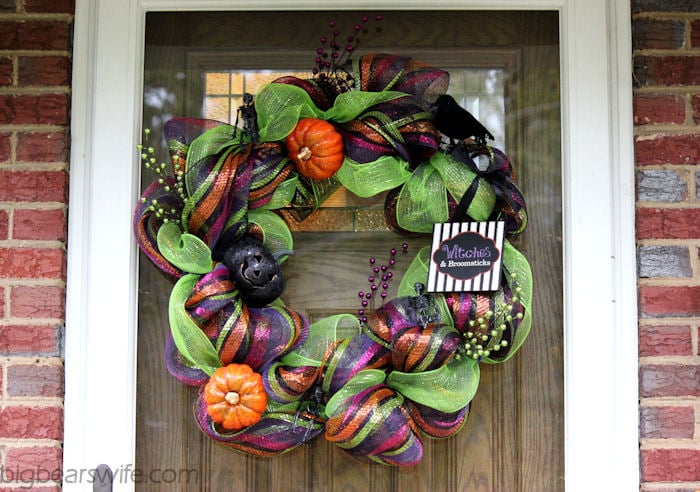
This is my finished wreath!
I love it so much!
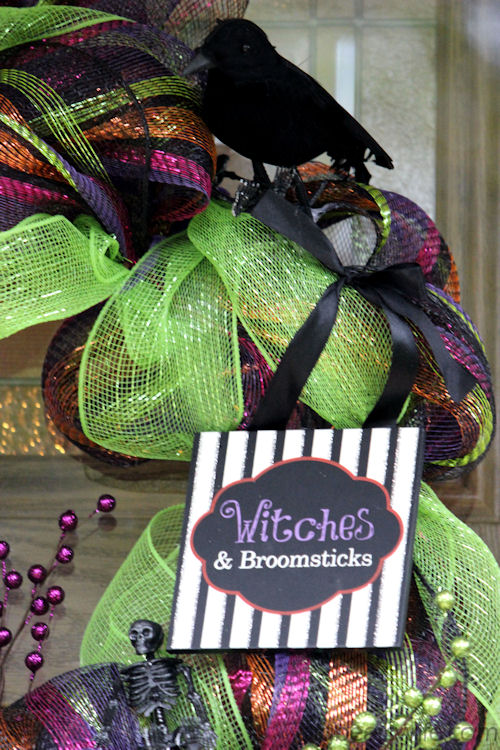
My Raven and Witches sign!
Those glitter pumpkins have floral picks on them so I could just put hot glue on the bottom and the stick and stick it into the wreath.
For the sign, I hot glued a 2 inch section of the middle of a pipe cleaner along the back of the sign and then used the edges of the pipe cleaners to twist it onto the wreath base through the deco mesh
The little skeletons only needed a drop of hot glue.
oooo Spooky!
hey little guy!
OOOO and there is my glowing pumpkin! The one I almost didn’t use the “face side” of! But I’m glad I did. He’s an awesome $1.00 pumpkin haha!
See… he glows different colors!!
I hope that the directions weren’t confusing! It’s easier to show than to tell haha. If you have any questions please feel free to e-mail me!
This is just a hobby for me so I KNOW that don’t do it as well as the professional wreath makers, but this is how I do it so, this is the way that works for me! Have any tips for me? How do you make them?
Happy Haunting! Check out all of the spooky Halloween recipes and crafts on this BigBearsWife.com!!
Disclosure: The links below are affiliate links, which means I may receive a commission if you click one and purchase something that I have recommended. While clicking these links won’t cost you any extra money, they will help me keep this blog up and running.
If I am using a 14″ wreath form which only has 6 sections, do I use 20 pipe cleaners or only 2 in each section which would be 12 in this case?