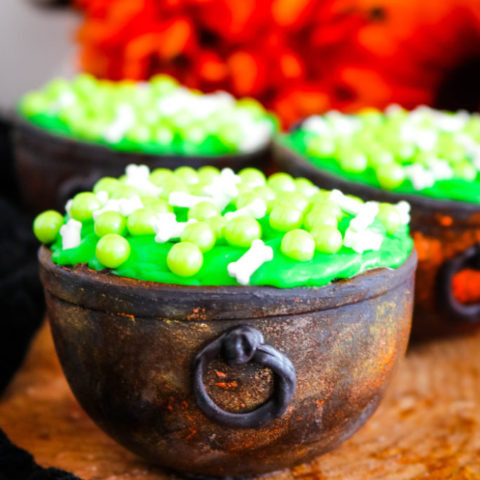
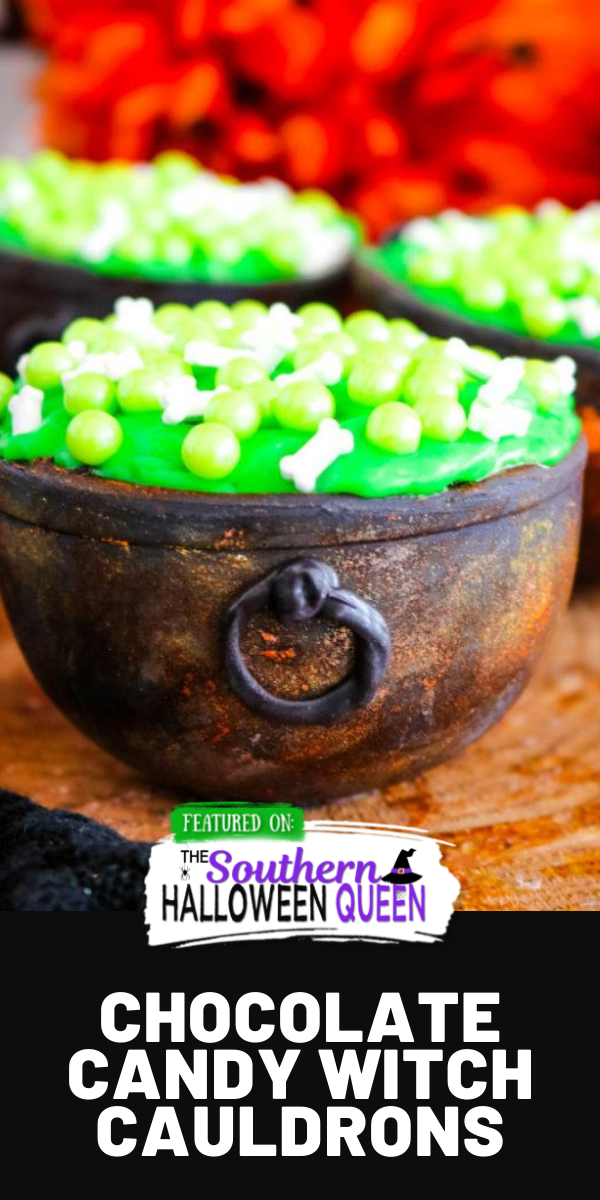
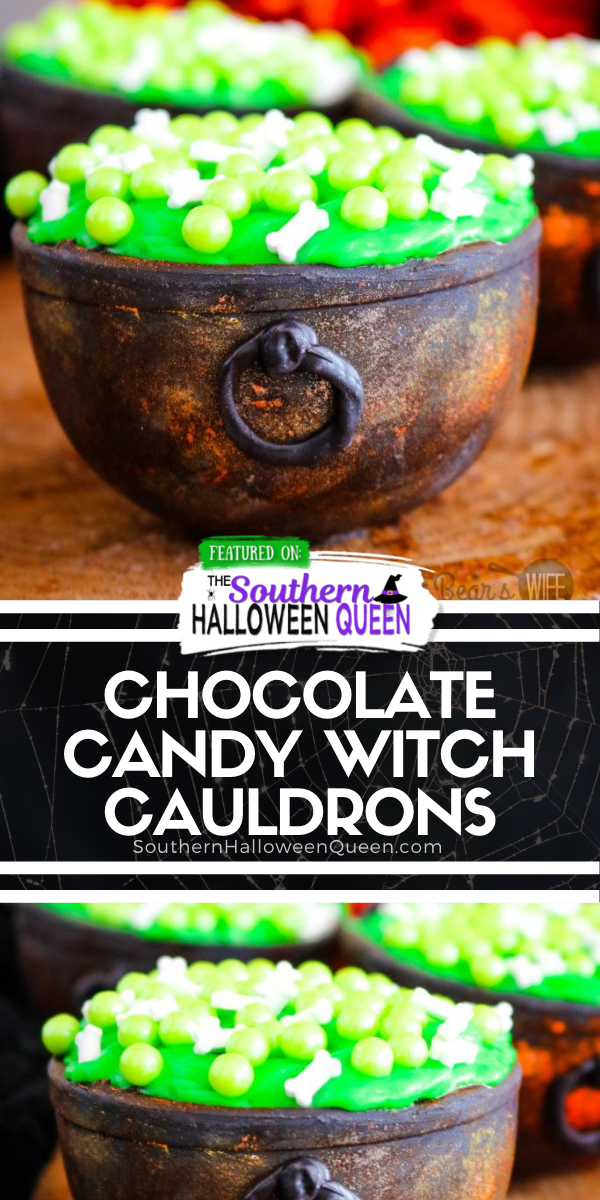
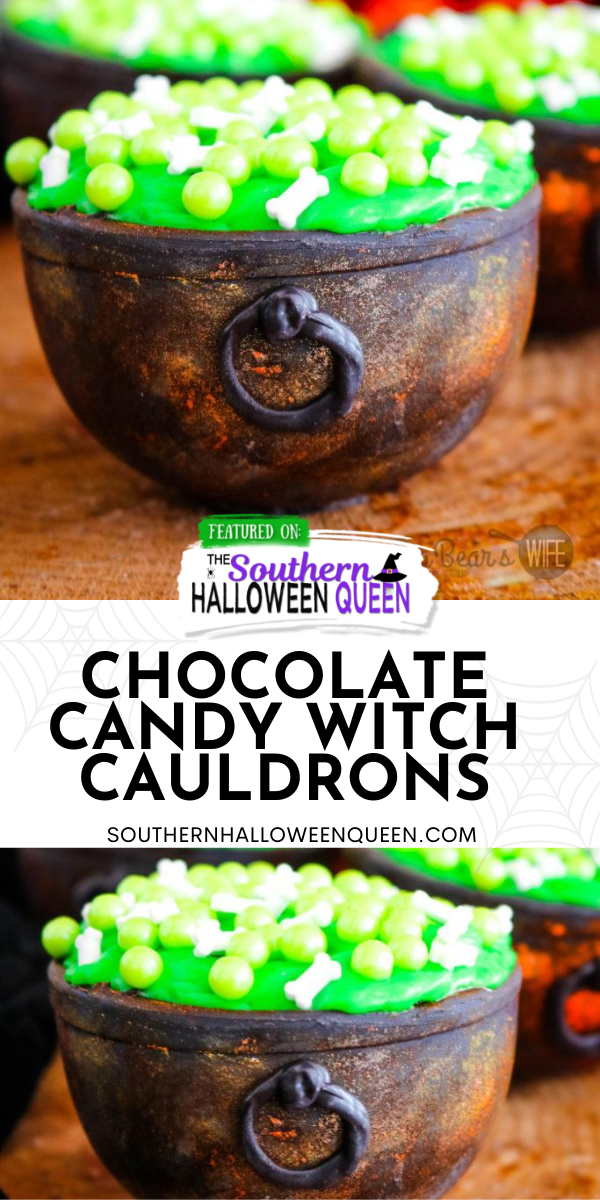
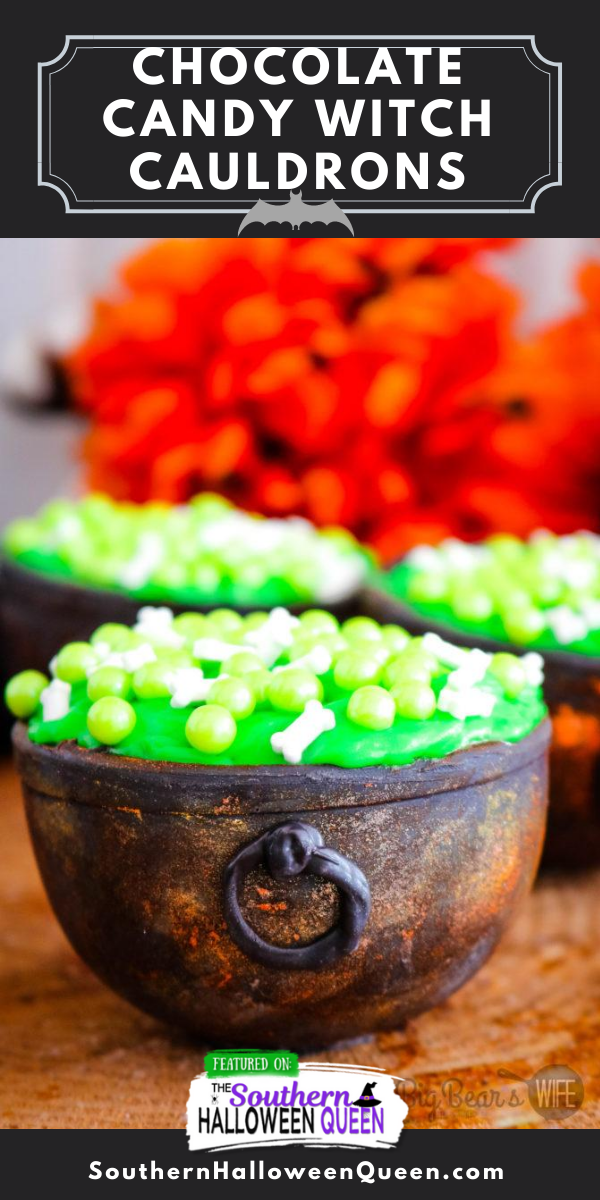
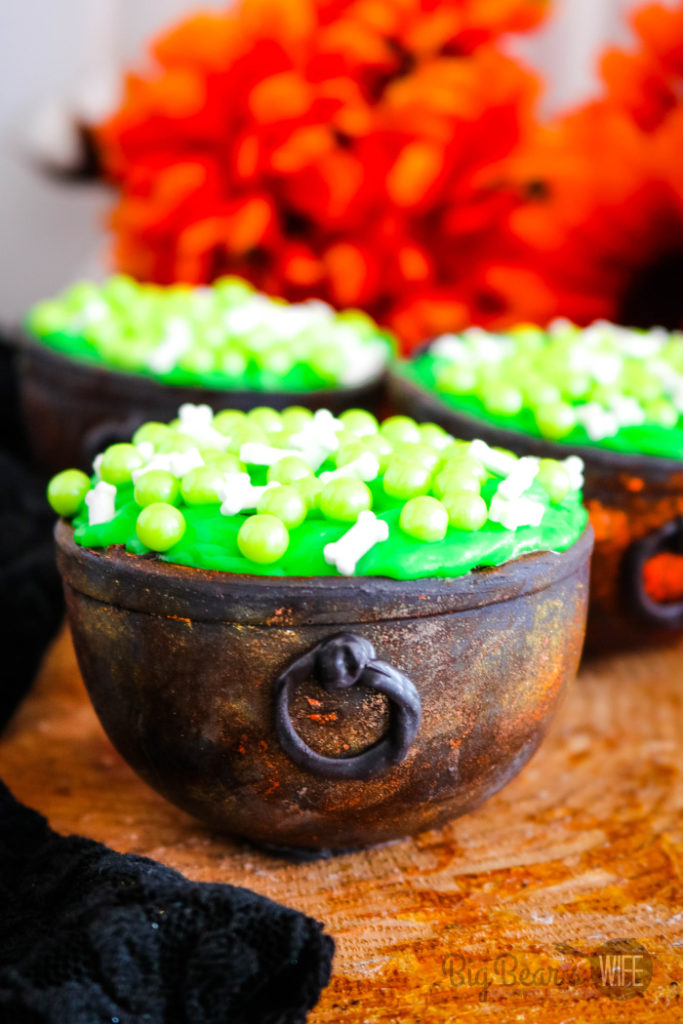
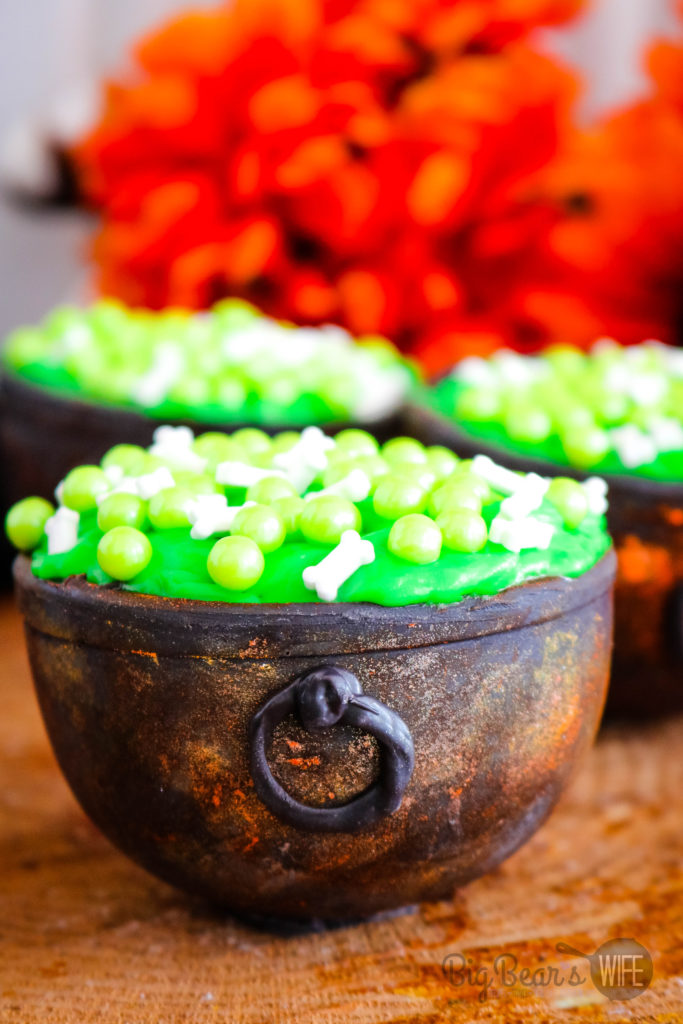
These Chocolate Candy Witch Cauldrons can hold all kinds of treats for your wicked little witches and warlocks! These cauldrons are filled with brownie bites, icing and topped with a witches brew of bone and bubble sprinkles!
“This post/recipe originally appeared on my main blog BigBearsWife.com for #HalloweenTreatsWeek”
Printable Recipe At Bottom of Post
I’m so excited to share these Chocolate Candy Witch Cauldrons for #HalloweenTreatsWeek with y’all! They came out even better than I pictures in my head and I just think they are fantastic. What a perfect recipe to start off #HalloweenTreatsWeek this year!
I tired a few different techniques for making these Chocolate Candy Witch Cauldrons but this is what I found worked best for me:
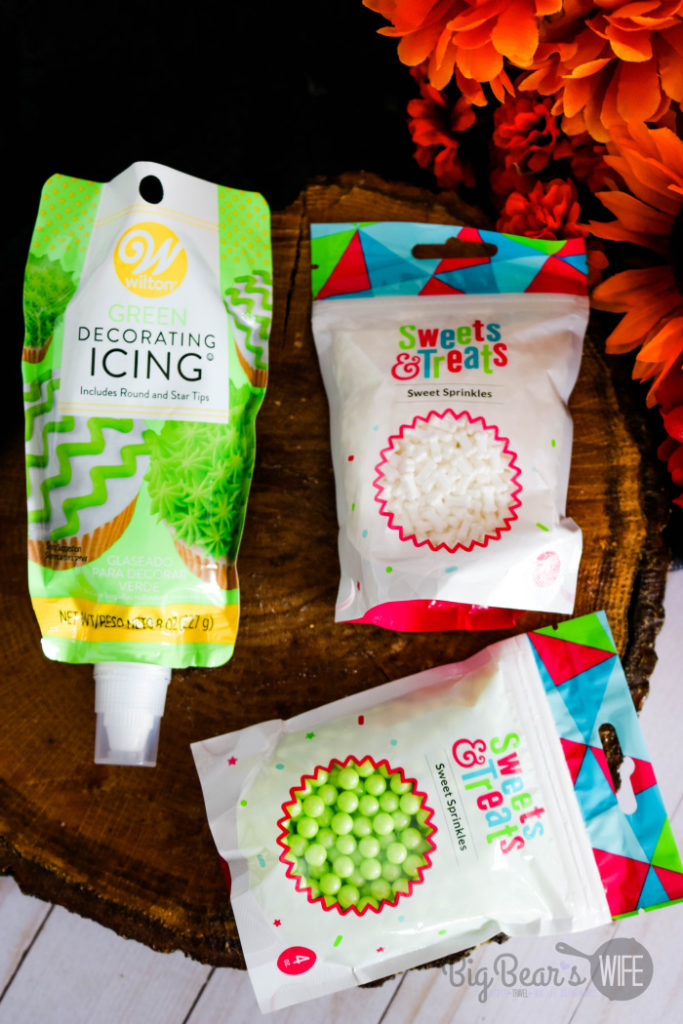
What you need to make Chocolate Candy Witch Cauldrons:
- Brownies – Homemade Recipes – Pumpkin CheeseCake Brownies or my favorite brownie recipe
- Bone Sprinkles
- Green candy Pearls
- Black Candy Melts
- Green Decorating Icing
- White Pearl Dust
- Piping Bag
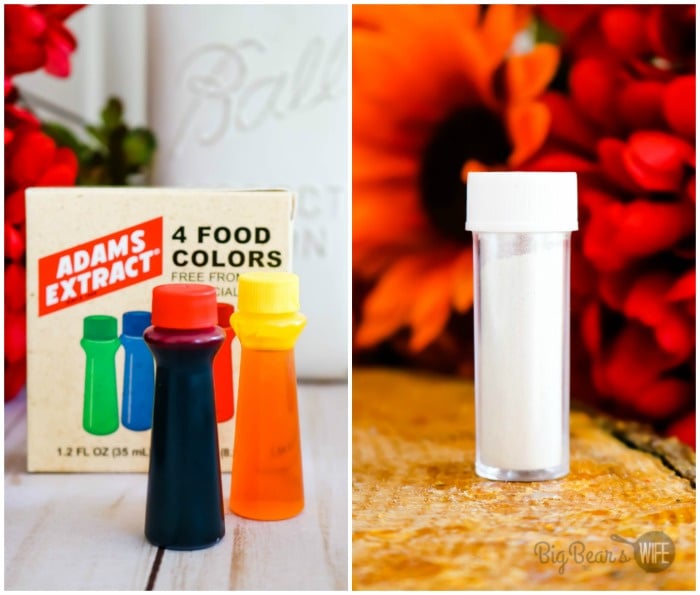
- Food Coloring
- 1 cup Measuring cup
I’ve got the printable recipe for y’all below but let me know you how to make these Chocolate Candy Witch Cauldrons!
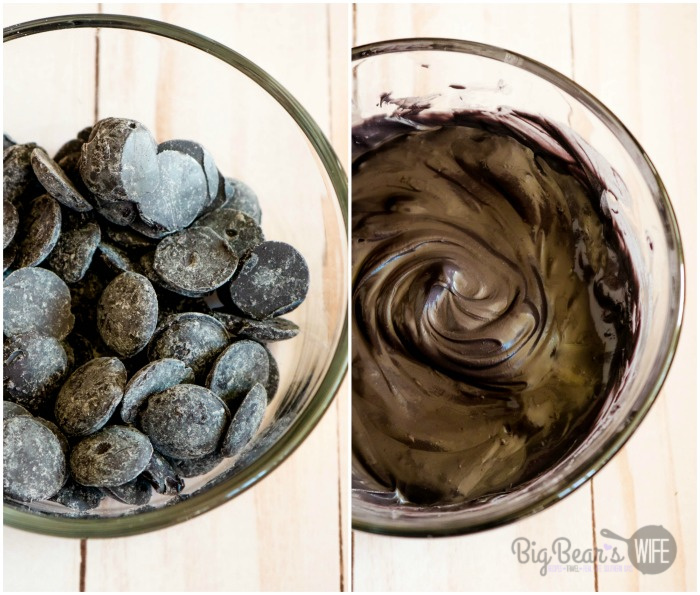
Start by melting the black candy melts according to the package directions.
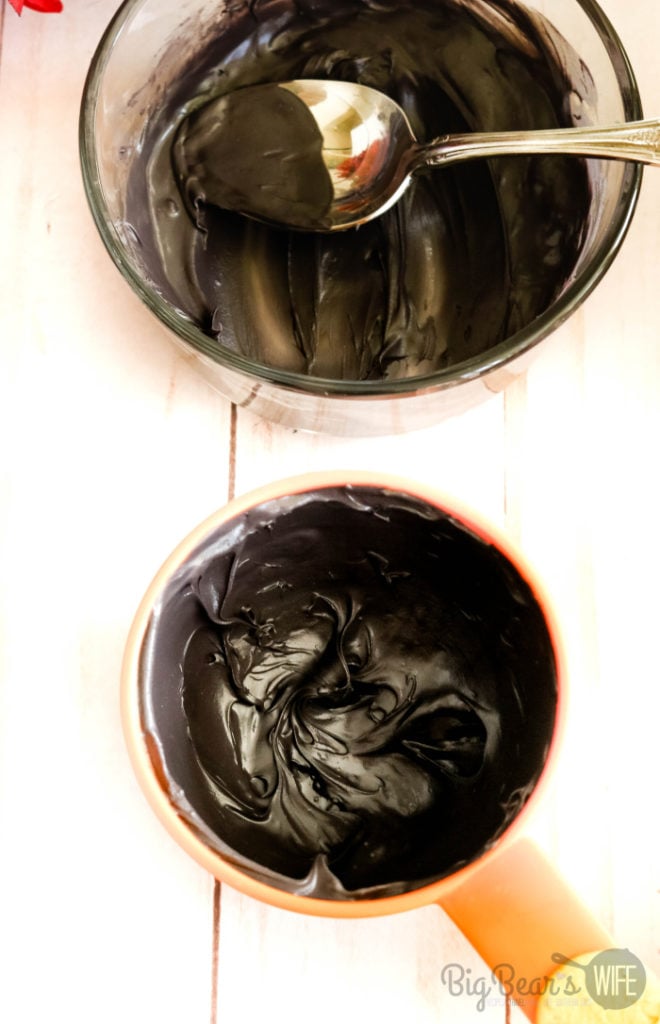
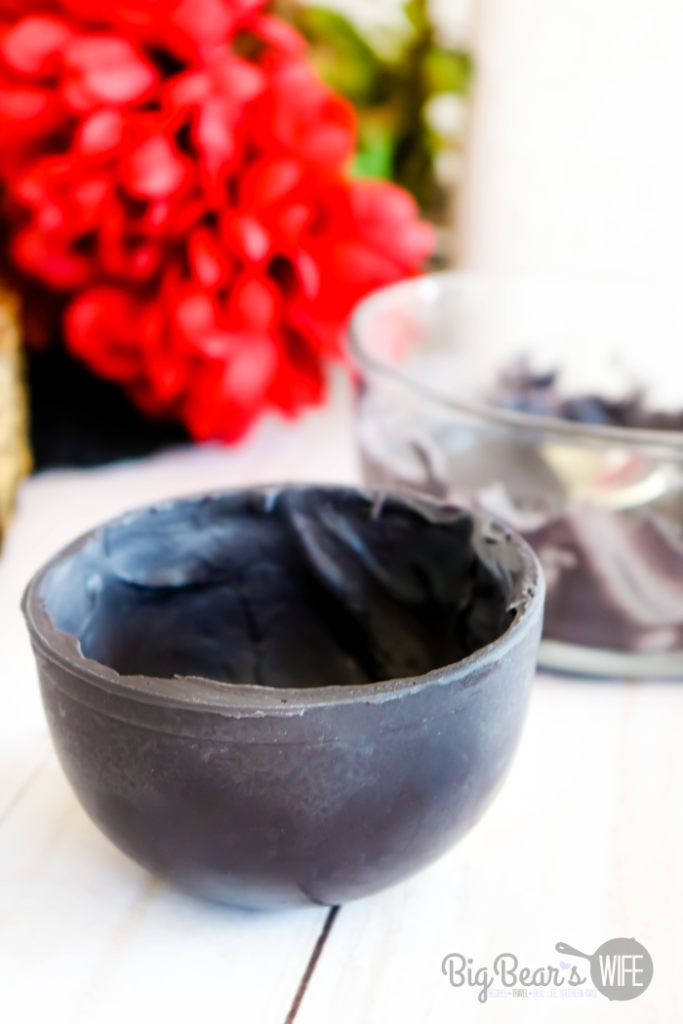
Spoon some of the melted black candy melts into a 1 cup measuring cup like the one pictures above. You don’t have to use a measuring up but I like the way this one molded and I thought it looks like a cauldron when it was done.
Make sure the entire inside is covered, turn the cup upside down and tap out the excess candy melts back into the candy melt bowl.
Place the measuring cup, right side up, in the freezer for 20-30 minutes or until solid.
Carefully pop candy cauldron from measuring cup.
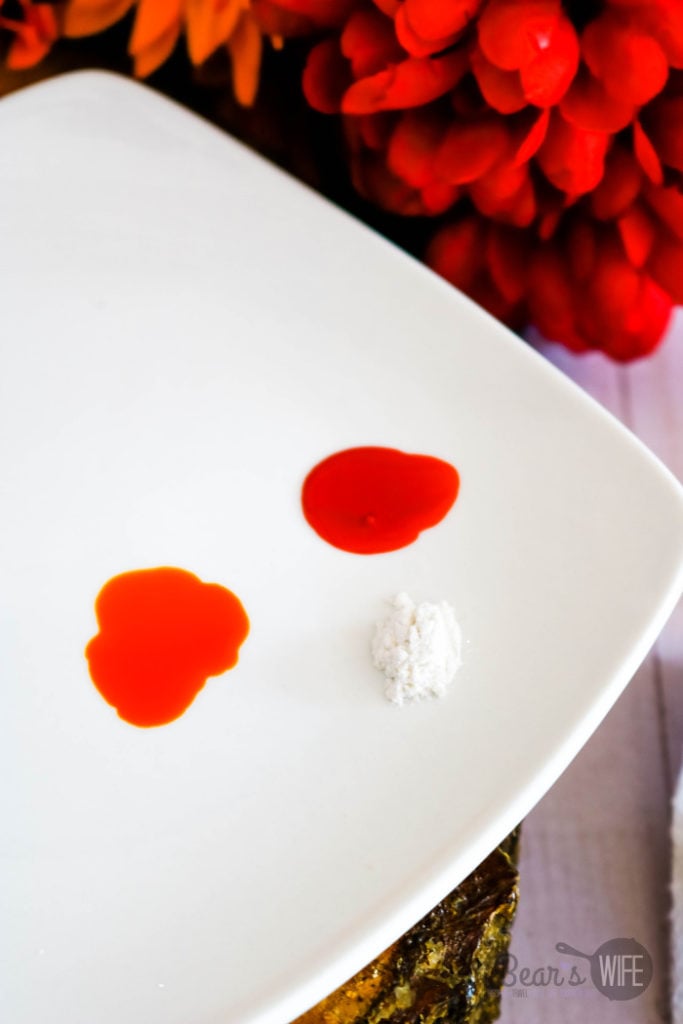
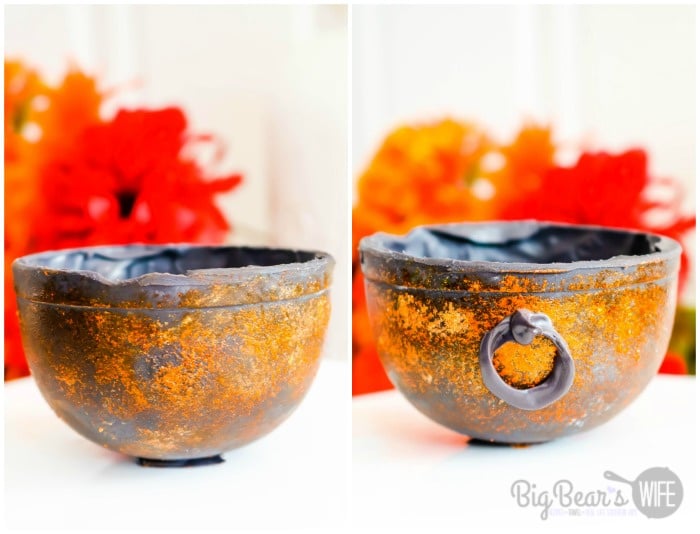
Next it’s time to add some “rust” to this witch cauldron. You’ll need orange and yellow. Or you can mix red and yellow together to make orange and then another bit of yellow on it’s own.
I also used some pearl luster dust to mix with it so it wouldn’t be so wet.
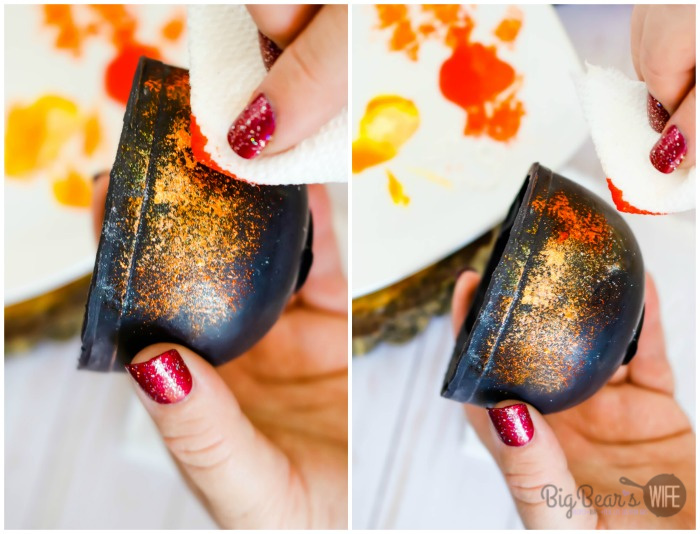
Just use a paper towel and dab it into the luster pearl dust and food colorings and blot it onto the sides of the cauldron.
NOTE – I found that all of the food coloring wouldn’t try so if you’re serving these at a party you may want to serve them on on a cupcake liner or or on a small plate, if they don’t dry all the way they may or may not add a bit of orange coloring to your fingers haha. Of course this didn’t bother us because we just washed our hands after eating them.
Once your witch cauldron has some rust on it, it’s time to add the handles. Just add a little bit of melted black candy melts to a piping bag and pipe a circle onto the side of the cauldron. Then add a dot to the top of the handle to make it look like the handle of a cauldron.
Hocus Pocus, it’s done!
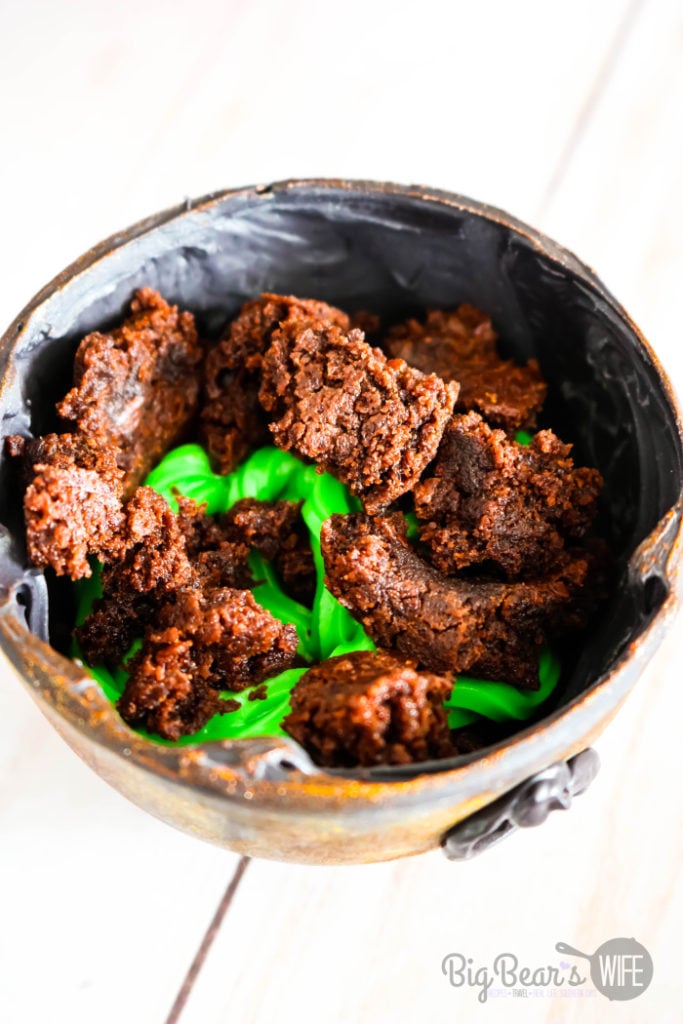
Now fill it with whatever wonderful treats you want to fill it with.
For this post I filled it with brownies pieces and green icing.
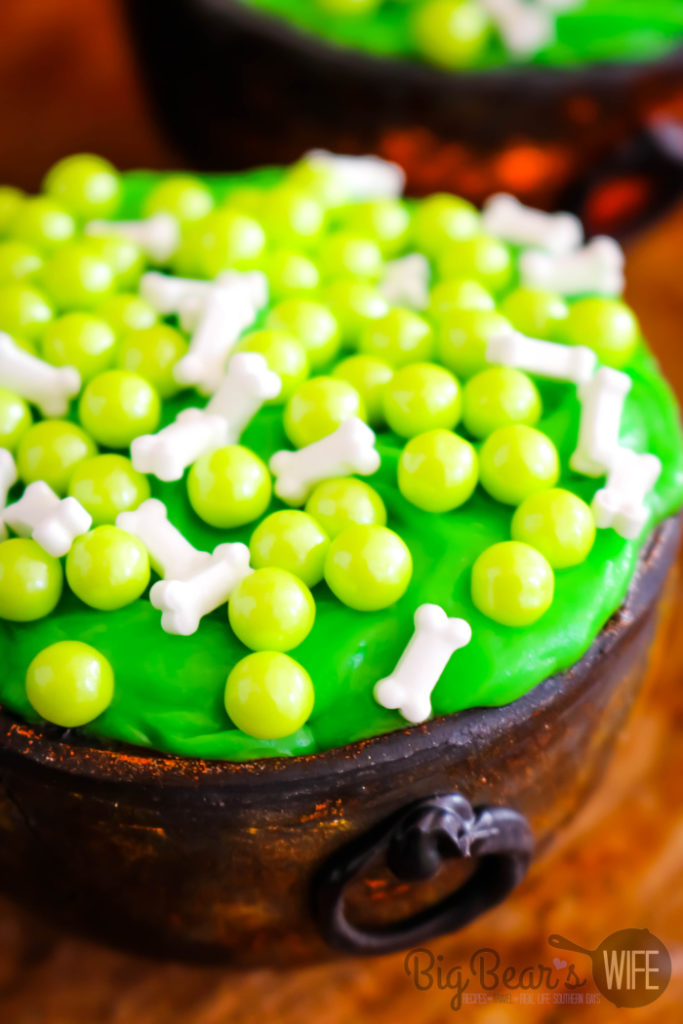
Then I topped it with more witchy green icing and added some bone sprinkles and “green bubbles” to make sure the cauldron was filled with a great witch’s brew!
You could fill these Chocolate Candy Witch Cauldrons with things like:
- Homemade Pudding
- Pumpkin Pie Cheesecake
- Eclair Dessert
- Chocolate Bark (You could make the bark looks like witches brew with green candy melts and bone sprinkles!)
- Ghost Snack Mix
Or you can fill it with brownies using one of these recipes:
Q&A:
- Can these be made in advance?
YES! I made these Chocolate Candy Witch Cauldrons and left two of them (unfilled) on the counter for a week to make sure they still looked good and they were perfect. Just fill them before serving.
Chocolate Candy Witch Cauldrons
Chocolate Candy Witch Cauldrons
These Chocolate Candy Witch Cauldrons can hold all kinds of treats for your wicked little witches and warlocks! These cauldrons are filled with brownie bites, icing and topped with a witches brew of bone and bubble sprinkles!
Ingredients
- 12 ounces Black Candy Melts
- 16 ounces Green Decorating Icing
- White Peal Dust
- Piping Bag
- Food Coloring
- 1 cup Measuring cup (to use as a mold)
- Bone Sprinkles
- Green candy Pearls
Instructions
Start by melting the black candy melts according to the package directions.
Spoon some of the melted black candy melts into a 1 cup measuring cup. You don't have to use a measuring up but I like the way this one molded and I thought it looks like a cauldron when it was done.
Make sure the entire inside is covered, turn the cup upside down and tap out the excess candy melts back into the candy melt bowl.
Place the measuring cup, right side up, in the freezer for 20-30 minutes or until solid.
Carefully pop candy cauldron from measuring cup.
Next it\'s time to add some "rust" to this witch cauldron. You\'ll need orange and yellow. Or you can mix red and yellow together to make orange and then another bit of yellow on it\'s own.
I also used some pearl luster dust to mix with it so it wouldn't be so wet.
Just use a paper towel and dab it into the luster pearl dust and food coloring and blot it onto the sides of the cauldron.
Once your witch cauldron has some rust on it, it's time to add the handles. Just add a little bit of melted black candy melts to a piping bag and pipe a circle onto the side of the cauldron. Then add a dot to the top of the handle to make it look like the handle of a cauldron.
Hocus Pocus, it's done!
Now fill it with whatever wonderful treats you want to fill it with.
For this post I filled it with brownies pieces and green icing.
Then I topped it with more witchy green icing and added some bone sprinkles and "green bubbles" to make sure the cauldron was filled with a great witch's brew!
Notes
NOTE - I found that all of the food coloring wouldn't dry so if you're serving these at a party you may want to serve them on on a cupcake liner or or on a small plate, if they don't dry all the way they may or may not add a bit of orange coloring to your fingers haha. Of course this didn't bother us because we just washed our hands after eating them.
Love it? Pin it!
Leave a Reply